
Well, the good news is that my raised garden bed is built, but my oh my how am I going to fill it and what should I fill it with? Once again, living in rural Saskatchewan presented a bit of a problem when it came to finding what I would need for soil. Buying bags of soil was out of the question as I would have needed far too many and that was out of my budget since I had splurged on the cedar boards to build the bed. However, I did some research to try and figure out what type of soil I should use to help the plants grow. This article “Everything You Need to Know About Gardening in Raised Beds” provided lots of great tips about soil and planting in raised beds. Something I took away is that I would need to buy in bulk as I would need several yards of soil to fill my bed. I decided to buy dirt from a local business which was a mix of soil and manure. My plan is to add more nutrients to it every year to provide the plants optimal growing conditions. Here is video I found that is all about…well I’ll let you investigate!
Along with my planning and designing, I have had to learn some new skills at math. I had to figure out how much dirt I would need. I found the Soil Calculator a great site for figuring out how much dirt I would need to fill my bed.
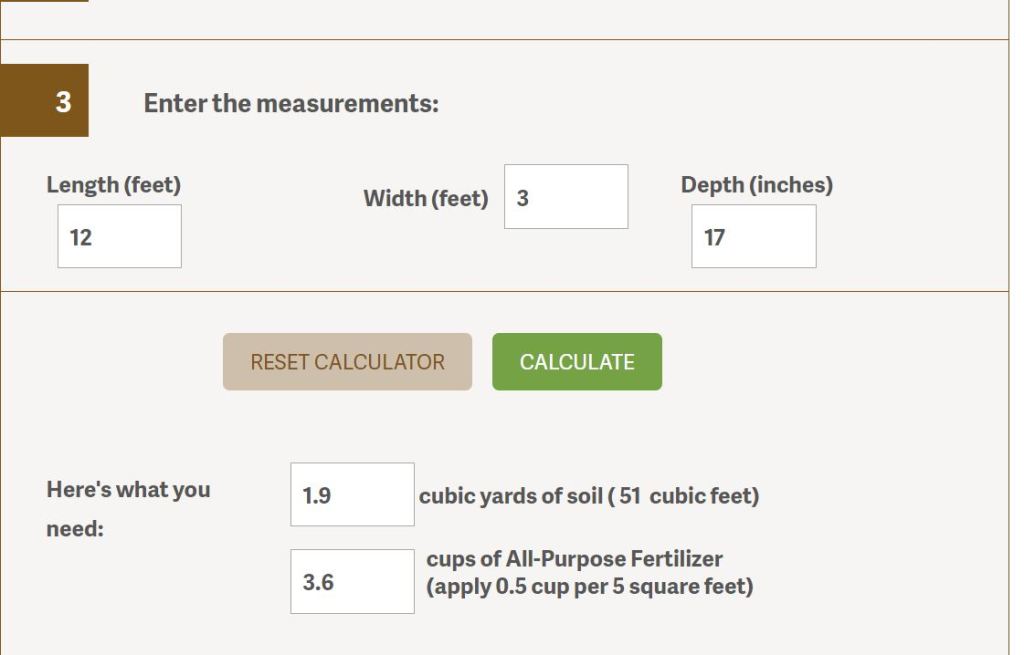
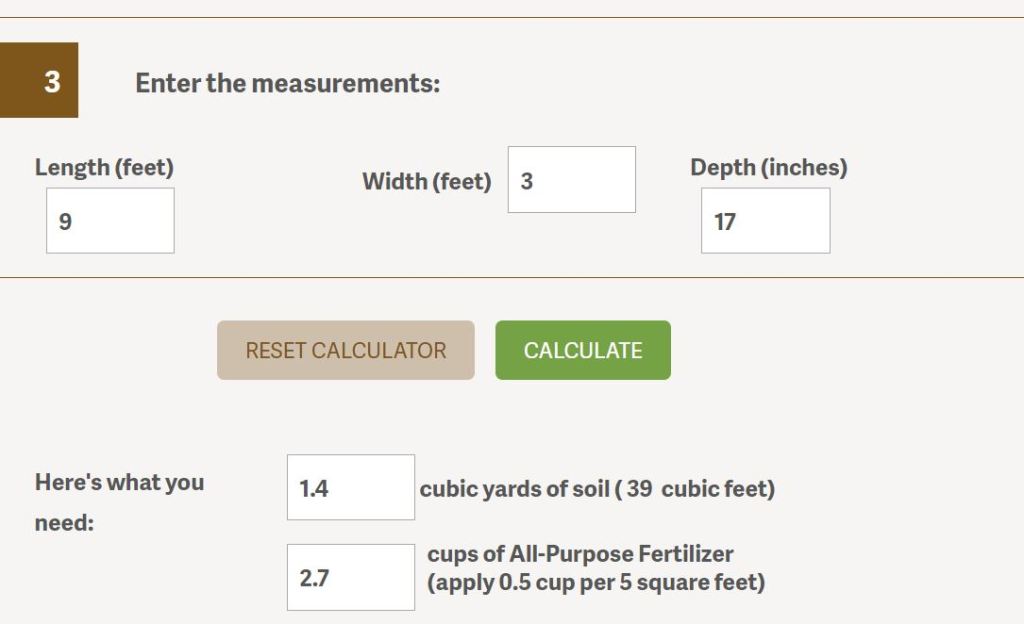
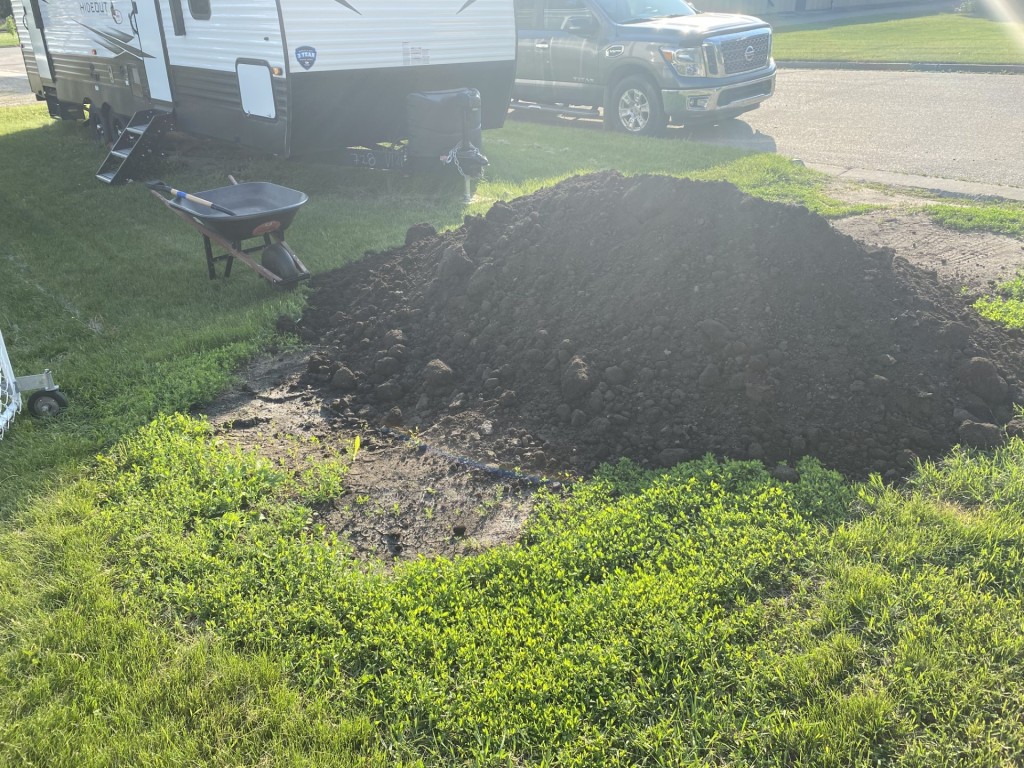
Oh boy! It turns out I needed around 3 yards of dirt. After work one day, I came home to this!
Before starting to put the dirt in, I needed to take care of the grass at the bottom of my garden bed. I chose to put a layer of cardboard at the bottom for two reasons. First, cardboard will naturally decompose and become part of the soil. Second, I had used landscape fabric in the previous garden beds my husband built for me and now every year I am battling grass coming through at full force! This is a great video regarding the pros and cons of using cardboard in a garden.
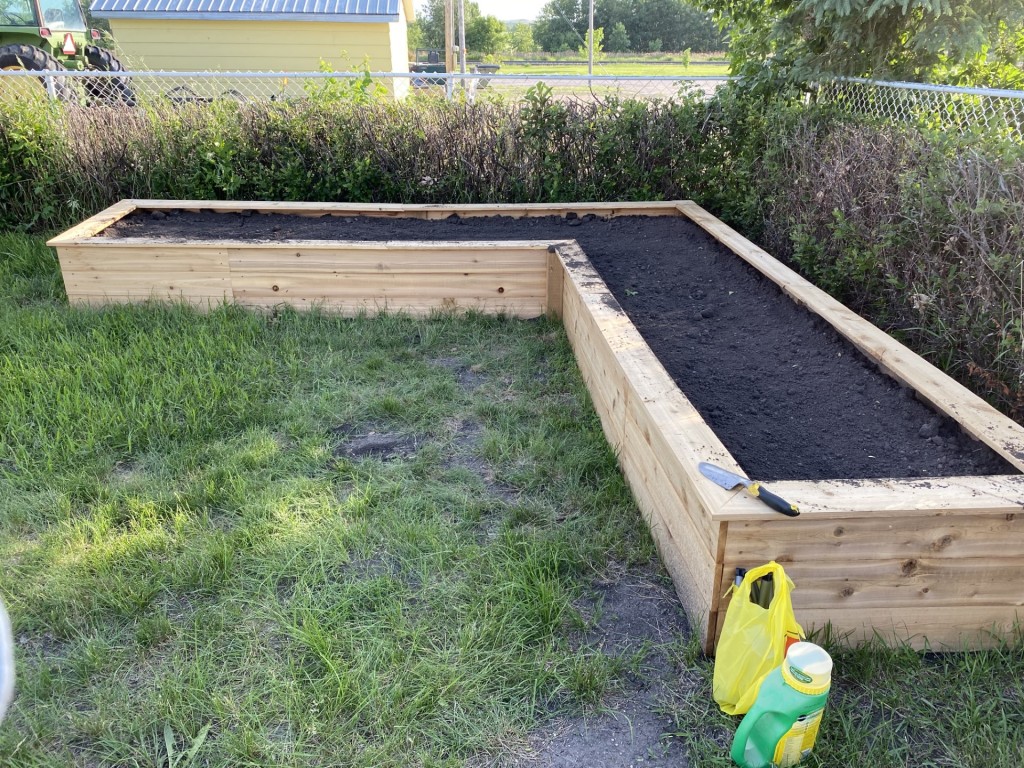
Once the cardboard was laid down, it was time to get busy loading, hauling and dumping the dirt into my raised bed.
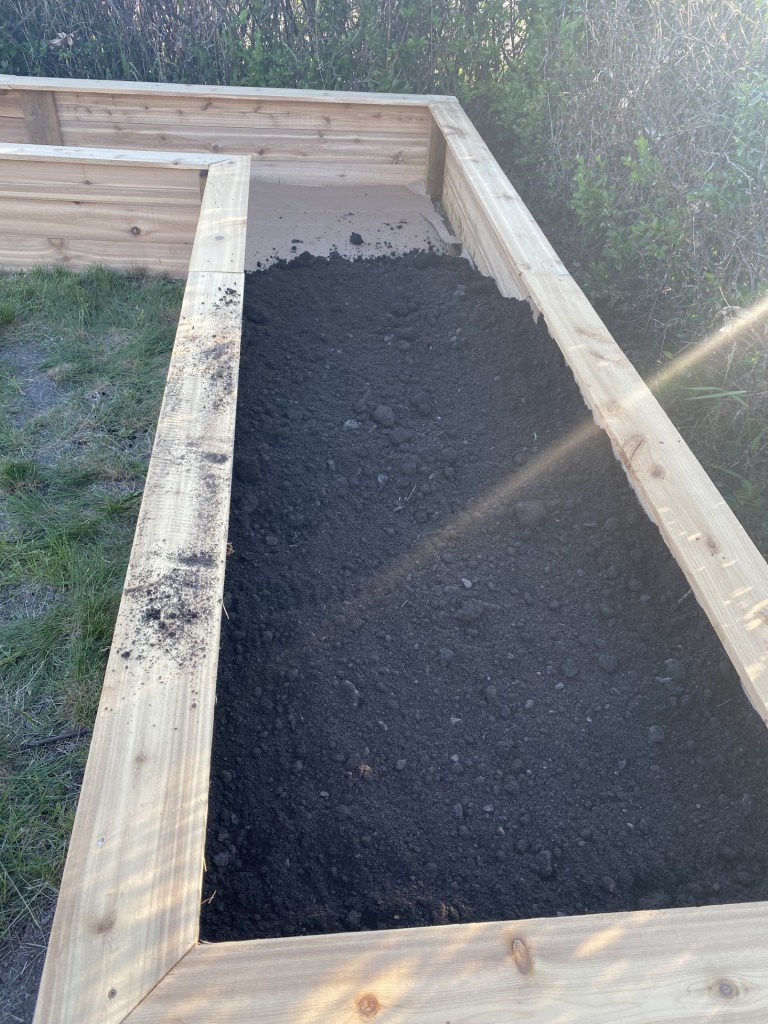
It took two evenings to fill the garden bed! I was so happy to finally start to plant!
I have big future plans for my raised garden bed to become a spot for fruit bushes such as strawberries, raspberries and rhubarb but this year I was not quite ready to tackle this plan. So, I decided to start small. I chose to plant tomatoes and peppers of different varieties along with some flowers and a shrub. One plant that I had heard great things about to include in gardening was the marigold thanks to Laurie’s blog. I always wondered why my grandmother included them in her garden every year. Here is a short video that shared 6 reasons you should plant marigolds in your garden.
After purchasing my plants at different greenhouses, I set out spacing them out first before planting them in the soil. This is something, I would do again in the future as it gave a great visual of how much space each plant needed to grow. The soil was very workable and easy to dig and plant in. Here is a video with my raised bed finally planted!
Overall my learning project went well. So things I hope to do in the future to make it even better based on my research is:
- Adding more minerals and nutrients to the soil
- Looking into watering systems
- Researching how to grow fruit in raised garden beds
A couple of things I need to remember in the future:
- Remember you live in rural Saskatchewan, products and resources aren’t readily available
- Think about where your garden is located in proximity to a watering source. It is going to take all of my garden hose to get water to this raised bed.
- Start early thinking about plants. I was not able to get all of the plants I wanted in my garden bed as I was late at planting this year.
Up next week, the final wrap up of my major learning product which will include adding some mulch to help with soil moisture! Thanks for reading. I leave you with a youtube short I was playing with this week!
-Kendra

Your enthusiasm for building the raised garden bed is evident in your writing. It’s impressive how you researched and found a cost-effective solution for obtaining the soil by buying in bulk from a local business. The videos you included add an interactive and informative element to your blog post. Your plans for the future show your dedication to continuous improvement. Well done!
LikeLike
Your garden bed looks amazing! I hope that you are happy with them and the fact that you know that they will be there to beautify your yard for years to come. I love when I am able to accomplish little jobs in the yard. I think that you have done a great job and should be very proud. I like how you are already thinking of next year. It is great when an assignment can take on a new passion within us.
LikeLike
Hi Kendra, I was excited to see that you were able to learn something helpful from my blog! Your project has come together so well. I hope that you will continue to post on your blog in the future so we can see how your fruit makes out in a raised bed.
LikeLike